
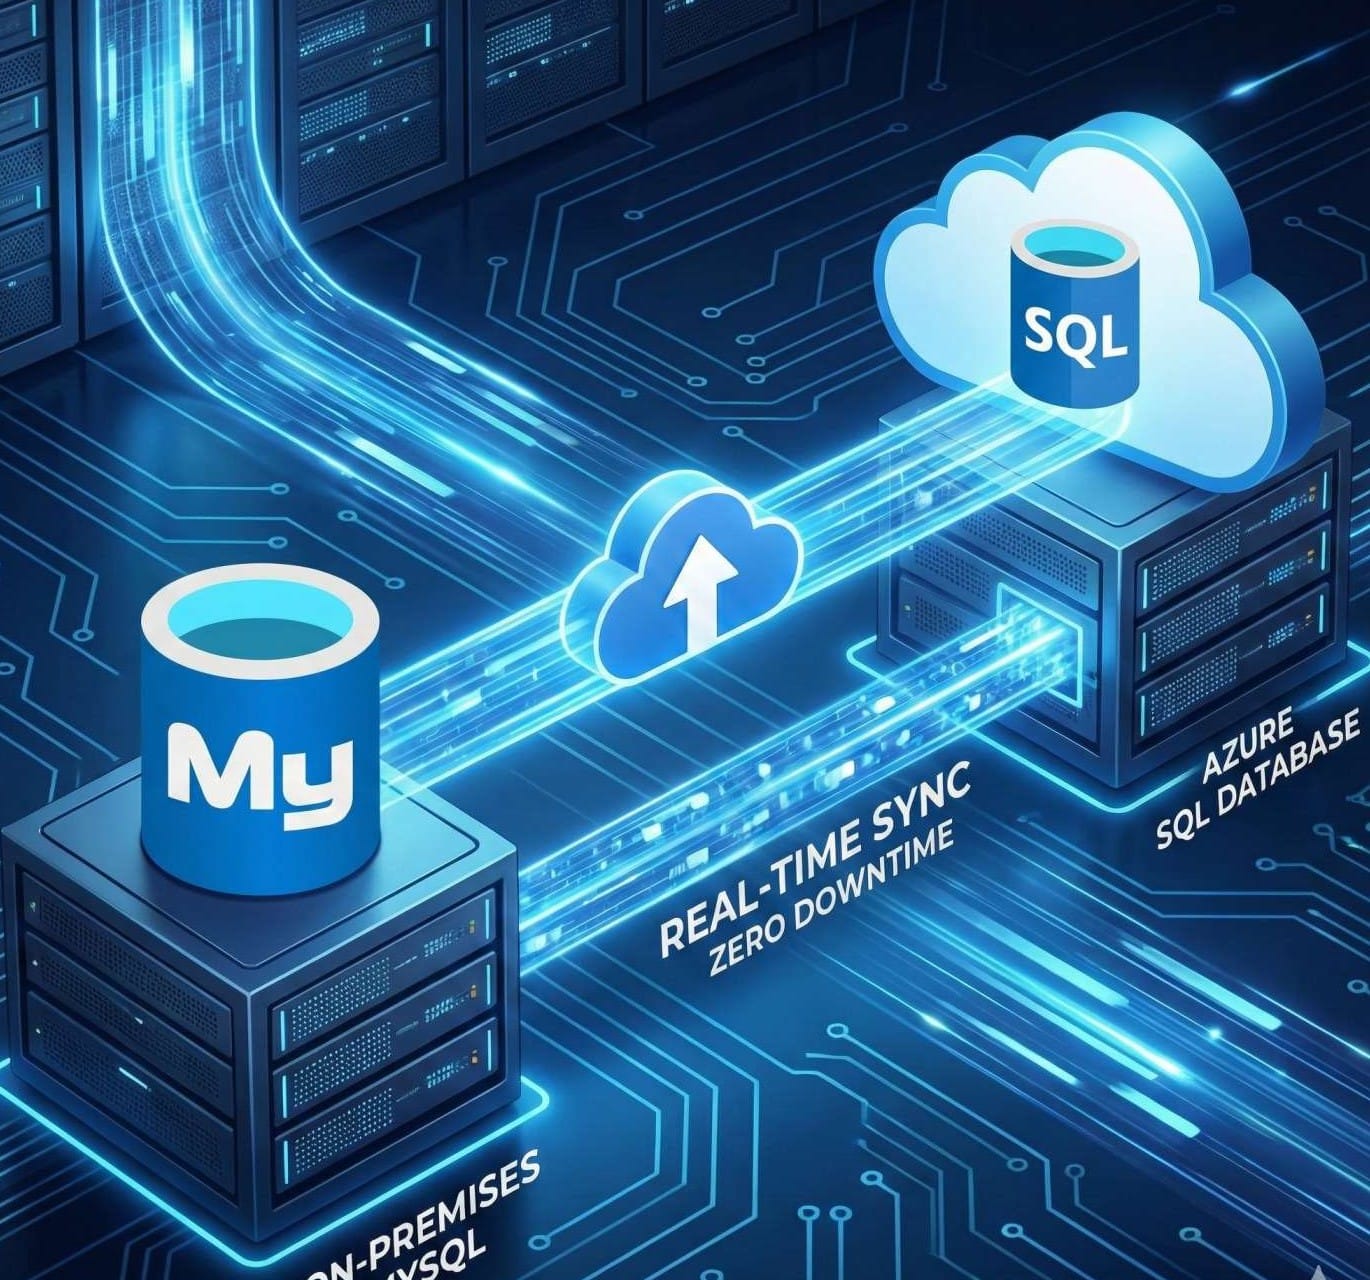
The Ultimate Guide to Migrating MySQL to Azure Database (Zero Downtime)

Let’s be real for a second. We all love the simplicity of a VPS Server On MySQL Database. It’s quick, it’s cheap, and it gets the job done. But there comes a time in every Operations Engineer's life when managing OS patches, backups, and scaling headaches becomes... well, a drag.
You want PaaS (Platform as a Service). You want Azure Database for MySQL. You want high availability without lifting a finger.
If you are currently hosting a MySQL database on a VM (like a DigitalOcean Droplet) and looking to migrate to Azure MySQL Flexible Server with zero or minimal downtime, you are in the right place.
I’ve recently gone through this exact migration process—twice. I did it the "hard" way (Native Replication) and the "official" way (Azure DMS). In this guide, I’m breaking down both methods so you can decide which one fits your vibe.
Why Move to Azure MySQL Flexible Server?
Before we crack open the terminal, let’s talk about the why. Moving from Infrastructure as a Service (IaaS) to PaaS isn't just a trend; it's a lifestyle upgrade for your data.
- Automated Backups: No more cron jobs failing silently at 3 AM.
- Scaling: Need more power? It’s a slider bar away.
- Security: Enterprise-grade security out of the box.
- Cost Management: With burstable tiers, you only pay for what you use.
- High Availability: Need to get more 9999 Uptimes ? Simply you can going with azure availability Zones.
Prerequisites: Getting the House in Order

Before we start either method, we need to prep our environment. Whether you choose Method 1 or Method 2, these steps are non-negotiable.
For the This process i was create separate Python base simple web application and which is all codes are hosted on GitHub. Using this application you can check database connectivity and Sync status.

Currently application connect with VPC on MySQL Database :

Note : If you are hope to use above python application for testing , You need set Environment Variables as a above image.
1. Prepare the Source (MySQL Server)
We need to make sure your current MySQL server is reachable and ready to talk.
Update bind-address: Open your mysqld.cnf and ensure bind-address is set to 0.0.0.0. This allows external connections.sudo vi /etc/mysql/mysql.conf.d/mysqld.cnf

Enable Binary Logging: This is the secret sauce for minimal downtime. You need to tell MySQL to log every change so we can replay them on Azure later.server_id = 1
log_bin = /var/log/mysql/mysql-bin.log
binlog_format = row
expire_logs_days = 10

Create a Replication User: We need a dedicated user for the migration tools to log in.CREATE USER 'replicator'@'%' IDENTIFIED WITH mysql_native_password BY 'YourStrongPass!';
GRANT REPLICATION SLAVE, REPLICATION CLIENT ON . TO 'replicator'@'%';
FLUSH PRIVILEGES;
Note: I recommend using mysql_native_password to avoid SSL handshake headaches during migration.
2. Prepare the Target (Azure)
Create an Azure Database for MySQL - Flexible Server.
- Login to the Azure portal and find "Azure Database for MySQL flexible servers"


Networking: For this guide, allow Public Access and whitelist your IP

Note : Change network setting as a above image. We need public access this time , Because from Source Server to Azure PaaS MySQL Server data migration process we are doing via Internet. Also add mySQL Droplet server Public IP in firewall section for get more control.Method 1: The Native Way (Dump & Replication)
This is the "Old School" method. It’s free, gives you total control, and works flawlessly if you know your way around a terminal. It involves using the mysqldump tool to create a logical backup of your database schema and data. You'll then manually transfer this dump file to your Azure environment and restore it. To minimize downtime, you can set up binlog replication between your source MySQL server and the target Azure database. This allows for continuous data synchronization until you're ready for the final cutover, making it a robust and flexible migration strategy.
Step 1: Capture the Master Position
We need to take a snapshot of the data, but we also need to know exactly where in the log file that snapshot was taken.
- Log into your DigitalOcean MySQL.
- Run this command to stop new writes for a moment:
FLUSH TABLES WITH READ LOCK; - Check the master status:
SHOW MASTER STATUS;

Note : Write down the File Name and Position. This is your GPS coordinate for the migration.
Step 2: Export the Data
Open a new terminal tab (keep the previous one open to maintain the lock!). Run mysqldump to export your specific database (e.g., student_db).mysqldump -u root -p --databases student_db > migration_dump.sql

Once the dump is done, go back to the first terminal and unlock the tables:UNLOCK TABLES;
Boom. Your application is back online, and you have a backup file.
Step 3: Import to Azure
Connect to your Azure MySQL server and restore the file.mysql -h my-azure-server.mysql.database.azure.com -u admin_user -p < migration_dump.sql
Replace Azure MySQL Server address and admin username as your environment.

Step 4: Create User on Azure MySQL Database
Also we need create same remote_user on azure MySQL Database for the access application to database.
CREATE USER 'remote_user'@'%' IDENTIFIED BY 'StrongPass123!';
GRANT ALL PRIVILEGES ON student_db.* TO 'remote_user'@'%';
FLUSH PRIVILEGES;
Step 5: Configure Data-in Replication
Now for the magic. We need to tell Azure: "Hey, look at the DigitalOcean server, start reading the log from this specific point, and copy everything that happened since the dump."
Log into Azure MySQL and run the stored procedures:
mysql -h my-azure-server.mysql.database.azure.com -u admin_user -p
CALL mysql.az_replication_change_master(
'165.22.x.x', -- Your Primary Server IP
'replicator', -- The user we created
'YourStrongPass!', -- Password
3306, -- Port
'mysql-bin.000002', -- The File we noted down
841686, -- The Position we noted down
'' -- SSL (Empty for now)
);
CALL mysql.az_replication_start;

Step 6: Verify & Cutover
Check the status:SHOW SLAVE STATUS\G

Seconds_Behind_Master is 0, congratulations! You are in real-time sync. Update your application's connection string to point to Azure, stop the replication (CALL mysql.az_replication_stop), and you are live on the cloud.Now We can change Application DB Server to azure MySQL Database server.

After the Restart App Service we can see application successfully connected with Azure Paas MySQL Database.


Step 7: Cutover
Congratulations! We've successfully completed a full database migration using industry-standard practices. The final step is to stop replication and sever the link between the old MySQL server and our new Azure MySQL PaaS database.

Method 2: The "Official" Way (Azure DMS)

If you prefer a GUI and managed services over SQL commands, Azure Database Migration Service (DMS) is your friend. It handles the complexity for you.
Azure Database Migration Service (DMS) is a comprehensive tool that helps simplify, guide, and automate your database migration to Azure. It is designed to easily migrate data, schema, and objects from various sources to the cloud at scale. DMS supports key scenarios, such as moving MySQL databases to Azure Database for MySQL. Crucially, it offers an "online data migration" option, enabling minimal downtime during your critical transition to the cloud.
Note: For online (minimal downtime) migration, you need the Premium tier of DMS. The first 6 months are usually free!
Step 1: Create the DMS Instance
Search for "Azure Database Migration Service" in the portal.

Select migration scenario and Database Migration Service

For the This migration process Azure will create services internally. For that services need compute power and Virtual Network. In here we can create that's.
Note : Online migration feature only available in Premium tier only.


Now Create new "Database Migration Project"

In here Must provide the name, Source and destination Database type. Ensure that the “Online Migration” option is selected.
.

Now "MySQL to Azure Database for MySQL Online Migration Wizard" Open and here we have to Provide Source server name , Server port , User name and Password.Note : For this demo we are using root user ,hence this is demo. But in production create new migrate user and grant required permission (REPLICATION SLAVE , REPLICATION CLIENT , RELOAD, FLUSH_TABLES)for him.GRANT REPLICATION SLAVE, REPLICATION CLIENT ON *.* TO 'remote_user'@'%';
GRANT RELOAD, LOCK TABLES, SHOW VIEW, EVENT, TRIGGER ON *.* TO 'remote_user'@'%';
FLUSH PRIVILEGES;

Note : Also we need to provide Droplet on MySQL root user for remote access privilege with SSL not verifying.CREATE USER 'root'@'%' IDENTIFIED WITH mysql_native_password BY 'Chathu@12345';
GRANT ALL PRIVILEGES ON *.* TO 'root'@'%' WITH GRANT OPTION;
FLUSH PRIVILEGES;
Azure MySQL Database Select

Select Databases

Note : We are not entire server migrate. That will make more complex this setup and more challengers. There for we only migrate database and manually create users and other in new Database.
Giving Activity Name


Migration Success

In this image we can see "Seconds behind source: 0" . That mean our Azure MySQL database and Digital Ocean On Database syncing Realtime.
Testing
On MySQL PaaS server we can see our Student_db now appeared.

logging to the MySQL PaaS server and Create User for application
CREATE USER 'remote_user'@'%' IDENTIFIED BY 'StrongPass123!';
GRANT ALL PRIVILEGES ON student_db.* TO 'remote_user'@'%';
FLUSH PRIVILEGES;

Change Application Environment Variables

Application working Fine with New Azure MySQL Database

The Cutover
Once the status says "Start cutover", click the button. DMS will confirm that there is no lag (0 seconds latency). Stop your application, confirm the cutover, and DMS will finalize the move.

After the cutover, you can delete all migration-related services we created earlier, including the VNet.
Here is a comprehensive, SEO-optimized blog post tailored for your blog, Kloudschool. It captures the exact steps we went through, written in a professional yet conversational tone, perfect for cloud engineers and tech enthusiasts.
From Droplet to Cloud: The Ultimate Guide to Migrating MySQL to Azure Database (Zero Downtime)
SEO Title: MySQL Migration to Azure: A Zero Downtime Guide (Native vs. DMS) Meta Description: Moving from DigitalOcean to Azure? Learn two proven methods to migrate your MySQL database to Azure PaaS with minimal downtime: the native replication method and using Azure DMS. Step-by-step guide included.
Let’s be real for a second. We all love the simplicity of a DigitalOcean Droplet. It’s quick, it’s cheap, and it gets the job done. But there comes a time in every Cloud Engineer's life when managing OS patches, backups, and scaling headaches becomes... well, a drag.
You want PaaS (Platform as a Service). You want Azure Database for MySQL. You want high availability without lifting a finger.
If you are currently hosting a MySQL database on a VM (like a DigitalOcean Droplet) and looking to migrate to Azure MySQL Flexible Server with zero or minimal downtime, you are in the right place.
I’ve recently gone through this exact migration process—twice. I did it the "hard" way (Native Replication) and the "official" way (Azure DMS). In this guide, I’m breaking down both methods so you can decide which one fits your vibe.
Let’s get your data moving.
Why Move to Azure MySQL Flexible Server?
Before we crack open the terminal, let’s talk about the why. Moving from Infrastructure as a Service (IaaS) to PaaS isn't just a trend; it's a lifestyle upgrade for your data.
- Automated Backups: No more cron jobs failing silently at 3 AM.
- Scaling: Need more power? It’s a slider bar away.
- Security: Enterprise-grade security out of the box.
- Cost Management: With burstable tiers, you only pay for what you use.
Prerequisites: Getting the House in Order
Before we start either method, we need to prep our environment. Whether you choose Method 1 or Method 2, these steps are non-negotiable.
1. Prepare the Source (DigitalOcean)
We need to make sure your current MySQL server is reachable and ready to talk.
- Update
bind-address: Open yourmysqld.cnfand ensurebind-addressis set to0.0.0.0. This allows external connections. - Enable Binary Logging: This is the secret sauce for minimal downtime. You need to tell MySQL to log every change so we can replay them on Azure later.Ini, TOML
server_id = 1 log_bin = /var/log/mysql/mysql-bin.log binlog_format = row expire_logs_days = 10 - Create a Replication User: We need a dedicated user for the migration tools to log in.SQL
CREATE USER 'replicator'@'%' IDENTIFIED WITH mysql_native_password BY 'YourStrongPass!'; GRANT REPLICATION SLAVE, REPLICATION CLIENT ON *.* TO 'replicator'@'%'; FLUSH PRIVILEGES;Note: I recommend usingmysql_native_passwordto avoid SSL handshake headaches during migration.
2. Prepare the Target (Azure)
- Create an Azure Database for MySQL - Flexible Server.
- Networking: For this guide, allow Public Access and whitelist your IP (and later, the DigitalOcean IP).
Method 1: The Native Way (Dump & Replication)
This is the "Old School" method. It’s free, gives you total control, and works flawlessly if you know your way around a terminal. This uses standard MySQL tools: mysqldump and binlog replication.
Step 1: Capture the Master Position
We need to take a snapshot of the data, but we also need to know exactly where in the log file that snapshot was taken.
- Log into your DigitalOcean MySQL.
- Run this command to stop new writes for a moment:SQL
FLUSH TABLES WITH READ LOCK; - Check the master status:SQL
SHOW MASTER STATUS;[Insert Screenshot: Terminal showing File name (e.g., mysql-bin.000001) and Position]Write down the File Name and Position. This is your GPS coordinate for the migration.
Step 2: Export the Data
Open a new terminal tab (keep the previous one open to maintain the lock!). Run mysqldump to export your specific database (e.g., student_db).
Bash
mysqldump -u root -p --databases student_db > migration_dump.sql
Once the dump is done, go back to the first terminal and unlock the tables:
SQL
UNLOCK TABLES;
Boom. Your application is back online, and you have a backup file.
Step 3: Import to Azure
Connect to your Azure MySQL server and restore the file.
Bash
mysql -h my-azure-server.mysql.database.azure.com -u admin_user -p < migration_dump.sql
Step 4: Configure Data-in Replication
Now for the magic. We need to tell Azure: "Hey, look at the DigitalOcean server, start reading the log from this specific point, and copy everything that happened since the dump."
Log into Azure MySQL and run the stored procedures:
SQL
CALL mysql.az_replication_change_master(
    '165.22.x.x',           -- Your DigitalOcean IP
    'replicator',           -- The user we created
    'YourStrongPass!',      -- Password
    3306,                   -- Port
    'mysql-bin.000001',     -- The File we noted down
    841686,                 -- The Position we noted down
    ''                      -- SSL (Empty for now)
);

CALL mysql.az_replication_start;
Step 5: Verify & Cutover
Check the status:
SQL
SHOW SLAVE STATUS\G
[Insert Screenshot: SHOW SLAVE STATUS output showing Seconds_Behind_Master: 0]
If Seconds_Behind_Master is 0, congratulations! You are in real-time sync. Update your application's connection string to point to Azure, stop the replication (CALL mysql.az_replication_stop), and you are live on the cloud.
Method 2: The "Official" Way (Azure DMS)
If you prefer a GUI and managed services over SQL commands, Azure Database Migration Service (DMS) is your friend. It handles the complexity for you.
Note: For online (minimal downtime) migration, you need the Premium tier of DMS. The first 6 months are usually free!
Step 1: Create the DMS Instance
- Search for "Azure Database Migration Service" in the portal.
- Create a new service.
- Crucial Step: You must create a VNet (Virtual Network) for DMS to live in. [Insert Screenshot: DMS Creation blade showing Networking tab]
Step 2: Start a Migration Project
- Create a new project.
- Source: MySQL. Target: Azure Database for MySQL.
- Activity: Online data migration. [Insert Screenshot: Selecting "Online data migration" in DMS]
Step 3: Connect Source and Target
Enter your DigitalOcean IP and credentials. Pro Tip: If you get connection errors, double-check that your DigitalOcean Firewall allows connections from the DMS VNet or just allow all IPs (0.0.0.0) temporarily for the migration.
Enter your Azure Target credentials.
Step 4: Select Databases & Configure Settings
Select your database (student_db). In the settings, ensure you select "Enable consistent snapshot with read lock". This mimics what we did manually in Method 1.
[Insert Screenshot: Migration settings with "Enable consistent snapshot" selected]
Step 5: Run and Monitor
Hit "Run Migration". You will see two phases:
- Full Load: Moving the bulk data.
- Incremental Sync: Catching up with live changes.
[Insert Screenshot: DMS Monitor tab showing "Ready to cutover"]
Step 6: The Cutover
Once the status says "Ready to cutover", click the button. DMS will confirm that there is no lag (0 seconds latency). Stop your application, confirm the cutover, and DMS will finalize the move.
Common Pitfalls & How to Avoid Them
hit a few walls during my migration so you don't have to. Here is the troubleshooting gold:
1. The max_allowed_packet Error
If DMS fails with a packet size error, it’s because Linux server usually has a higher default packet size (64MB) than Azure (16MB).
- Fix: Go to Azure Portal > Server Parameters. Change
max_allowed_packetto67108864(64MB). Restart the migration wizard.

2. Permission Errors
DMS is strict. If it complains about missing REPLICATION CLIENT or SUPER privileges, ensure your source user has full rights.
- Fix: For the migration duration, I recommend using the
rootuser or grantingALL PRIVILEGESto your migration user on the source.
3. Users Not Migrating
Remember, both methods migrate data, not users. The mysql system database is usually skipped.
- Fix: You must manually recreate your application users (
remote_user) on the Azure Database and grant them permissions to your specific database.CREATE USER 'app_user'@'%' IDENTIFIED BY 'SamePasswordAsBefore!'; GRANT ALL PRIVILEGES ON student_db.* TO 'app_user'@'%';
Conclusion: Which Method Should You Choose?
Both methods get you to the same destination: a robust, scalable Azure MySQL environment.
- Choose Method 1 (Native) if you want zero cost, don't want to set up VNets, and feel comfortable with SQL commands. It’s faster to set up for smaller databases.
- Choose Method 2 (DMS) if you are migrating a massive enterprise database, need a visual dashboard, or if your organization requires using managed tools for compliance.
Migrating databases doesn't have to be scary. With the right preparation and a clear understanding of replication, you can move your infrastructure to the cloud on your lunch break.
Have you tried migrating to Azure? Let me know which method worked for you in the comments below!
Having trouble with Azure App Service? Read this article for a clear, step-by-step guide: https://kloudschool.com/azure-app-service/


No comments yet. Be the first to share your thoughts!